Pod to Pod Communication with Podman
Podman is becoming a considerable option for deploying containers in a small scale. In my case, as Fedora 32 isn't able to run Docker CE and the guide I was using to get that running didn't work, I had to learn how to stick with this alternative, and honestly, it is similar to Docker, so the learning process wasn't complicated. Also, you don't need root access to perform most of the simple tasks (contrary to Docker).
One cool thing from it is that you are able to set up pods and run containers inside them. Everything inside the pod will be isolated on its own network, and you are also able to open ports to the outside by mapping them to a host port. Generally, you will find lots of guides on how to install a stack on a single pod, but I wanted to go further and see how I perform any kind of communication between pods.
Let's say I want to create a pod for backend stuff (like a database) and another pod for frontend stuff (like an application). We can create a pod for backend containers and set up another pod for frontend containers, where we are going to map a port to the outside.
This example is based on this article. There is a lot of useful information here that you can check. Time to start!
Steps
Remember to run everything as superuser. To generate our network, we need to run the following command:
> podman network create foobar
We can see the generated network here:
> podman network ls
NAME    VERSION  PLUGINS
podman  0.4.0    bridge,portmap,firewall,tuning
foobar  0.4.0    bridge,portmap,firewall,dnsname
Now, let's generate the pods. As WordPress uses port 80 to show the application, we are going to map it to port 8080 for testing purposes. So, we do this:
> podman pod create --name pod_db --network foobar
> podman pod create --name pod_app --network foobar -p "8080:80"
> podman pod ls
POD ID        NAME     STATUS   CREATED         # OF CONTAINERS  INFRA ID
fe915374e2cd  pod_app  Created  9 seconds ago   1                6bd416faab89
ef0b632e857d  pod_db   Created  14 seconds ago  1                0b6fabe122b6
Finally, let's create the containers for each pod:
> podman run \
  -d --restart=always --pod=pod_db \
  -e MYSQL_ROOT_PASSWORD="myrootpass" \
  -e MYSQL_DATABASE="wp" \
  -e MYSQL_USER="wordpress" \
  -e MYSQL_PASSWORD="w0rdpr3ss" \
  --name=mariadb mariadb
> podman run \
  -d --restart=always --pod=pod_app \
  -e WORDPRESS_DB_NAME="wp" \
  -e WORDPRESS_DB_USER="wordpress" \
  -e WORDPRESS_DB_PASSWORD="w0rdpr3ss" \
  -e WORDPRESS_DB_HOST="pod_db" \
  --name=wordpress wordpress
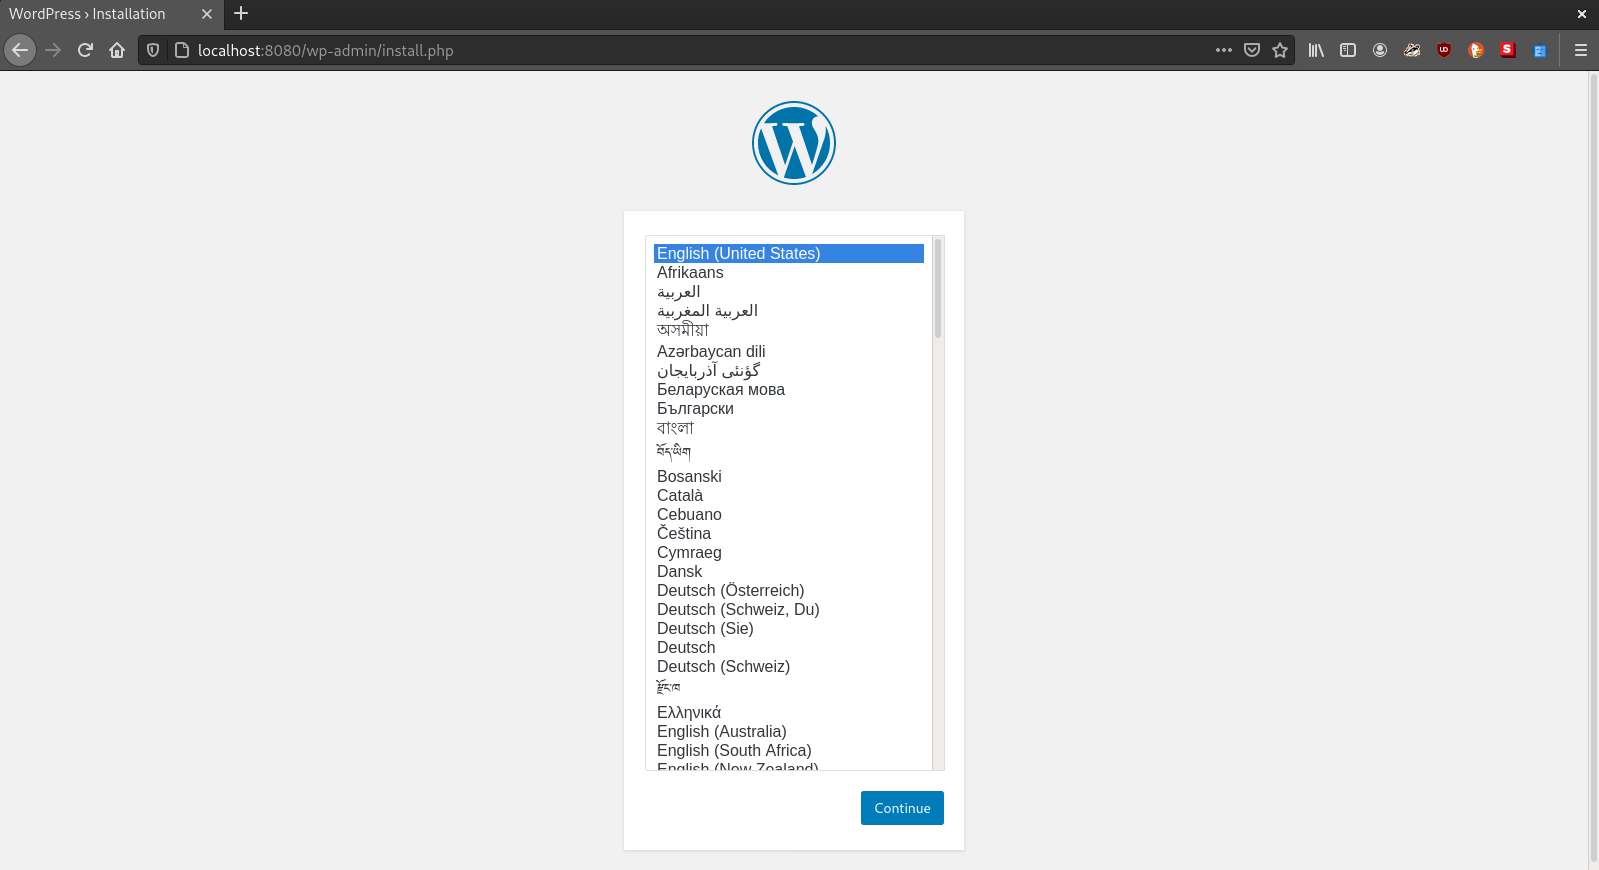
Now, check localhost:8080, and you might be able to see the application:
If you have any questions, feel free to send an email, and also check the Podman and dnsname projects.
Tags: 2020, tech, podman, containers, pod